 yuyr
59a38513a4
yuyr
59a38513a4
测试方案: - lm2机器端口映射到本机:18080, 18081, 8082-8085 - 访问URL: http://localhost:18080/dashboard 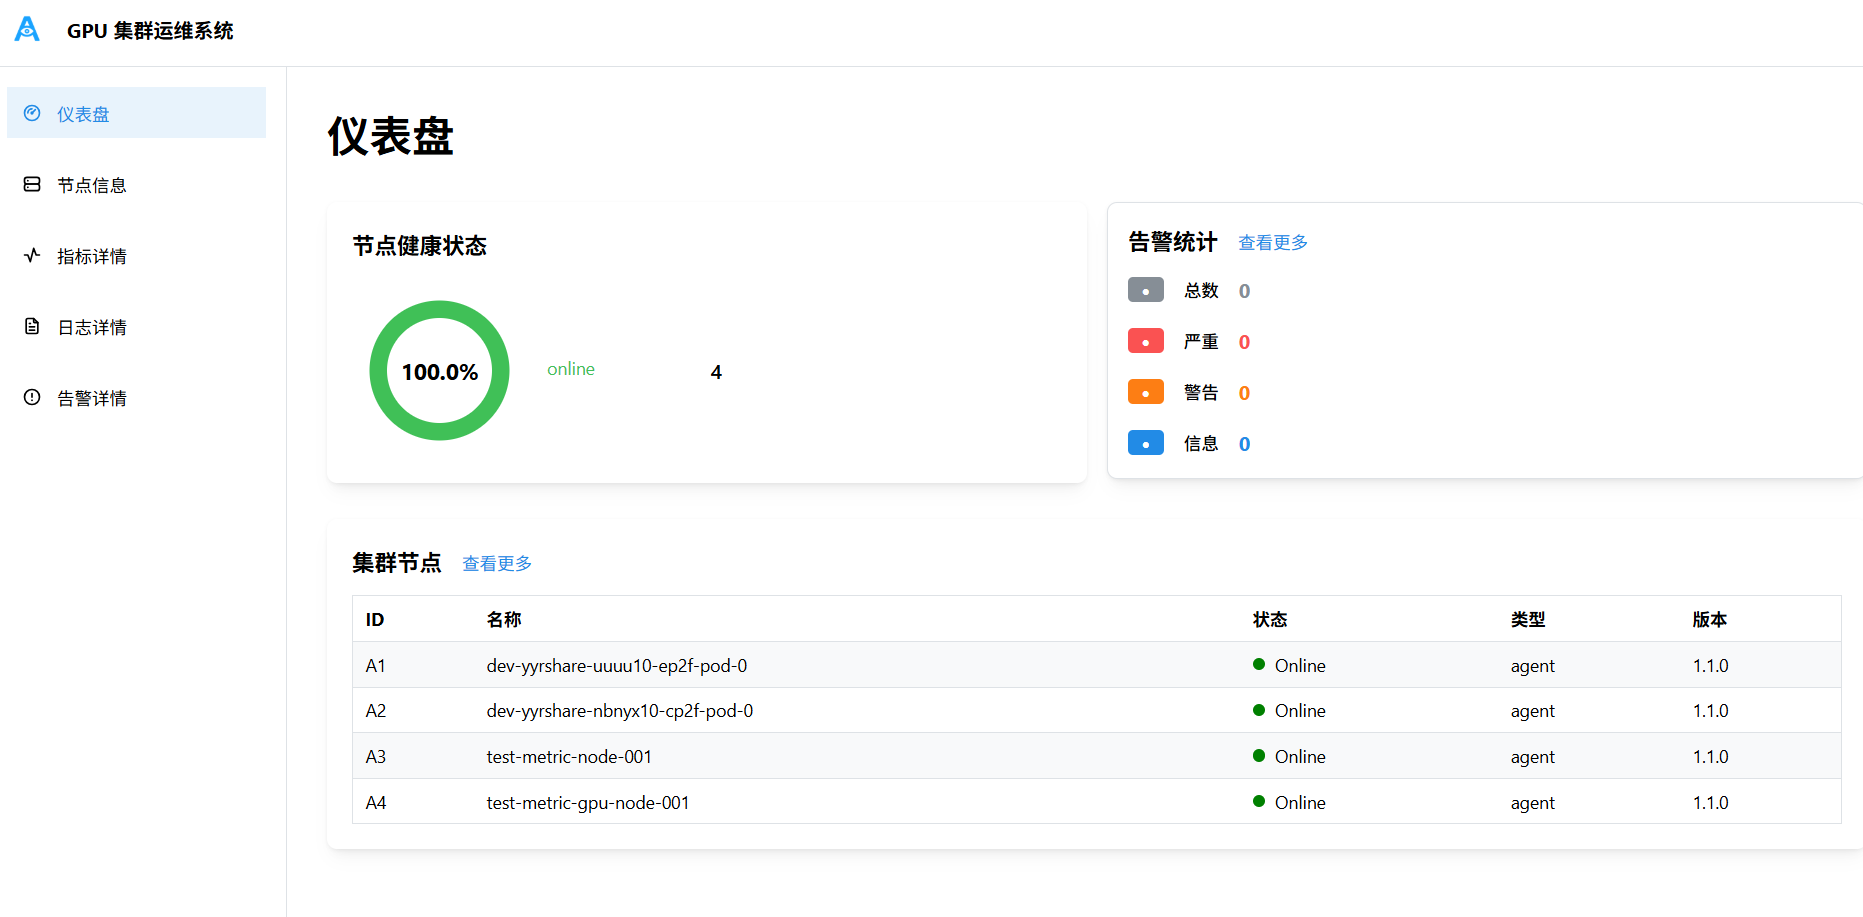 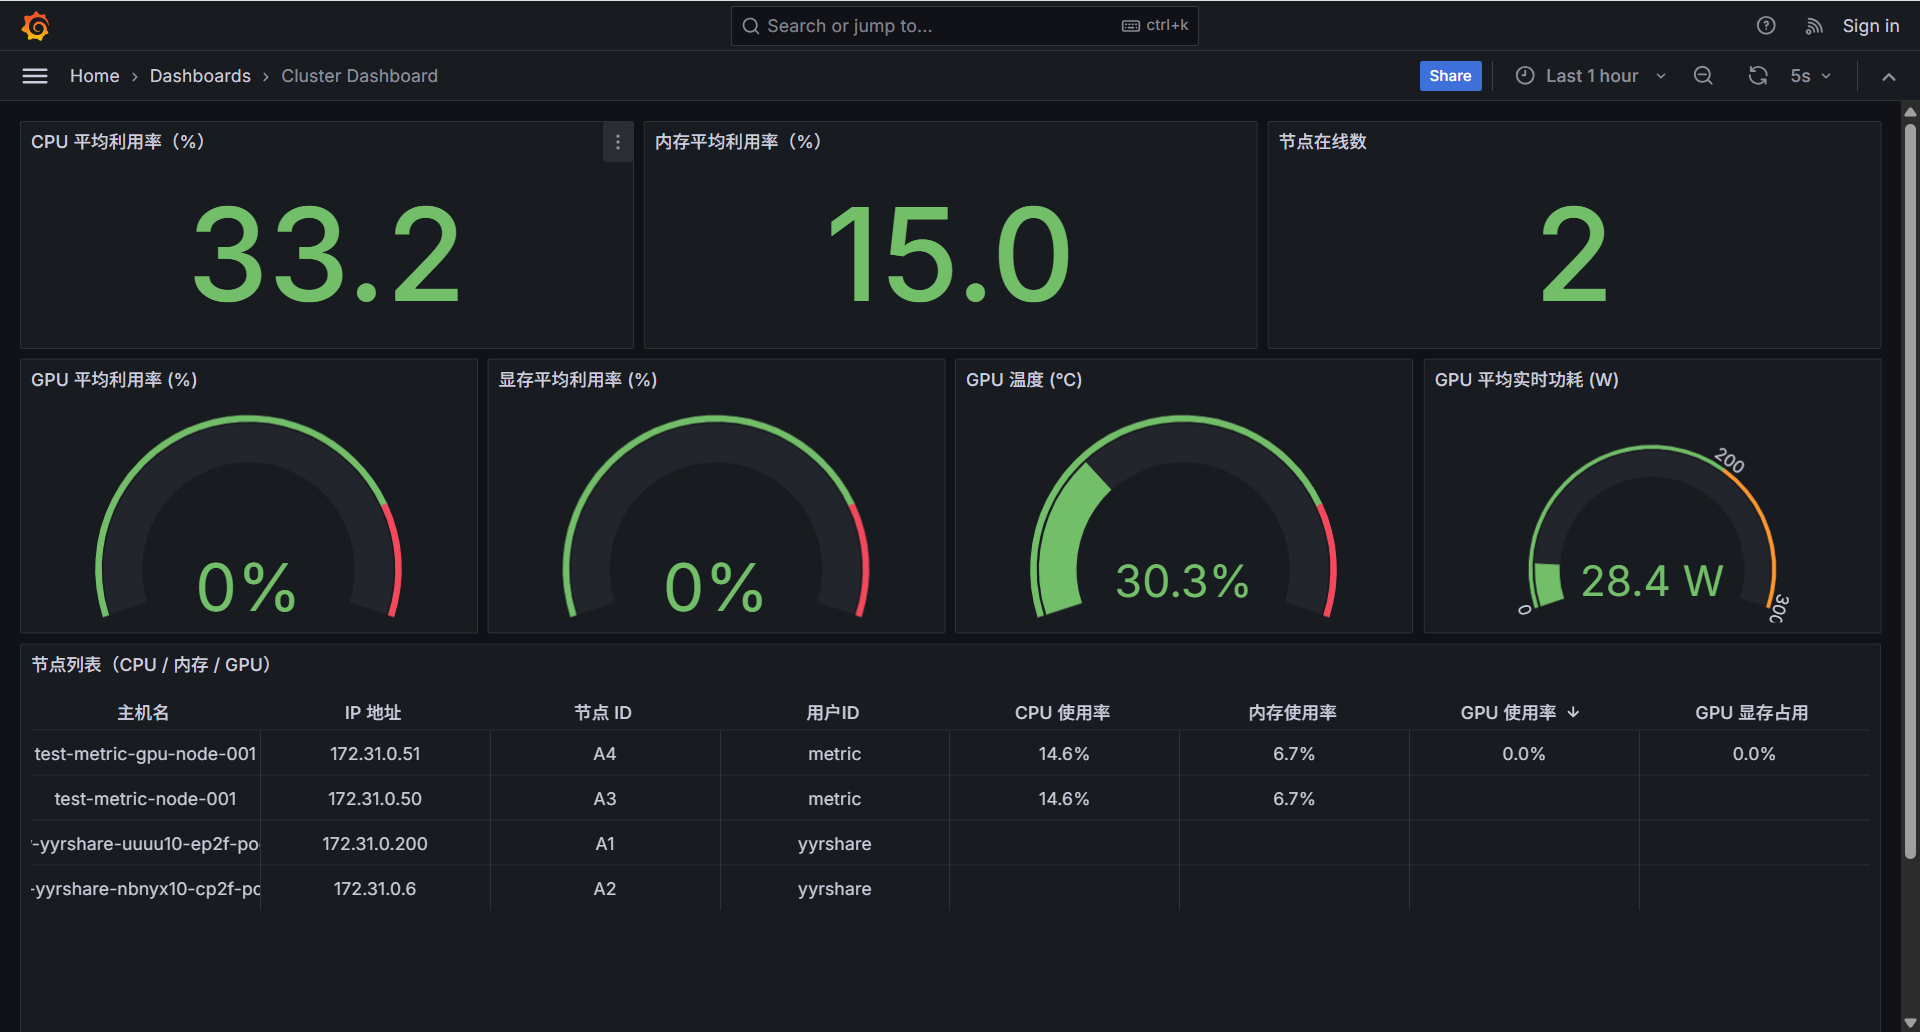 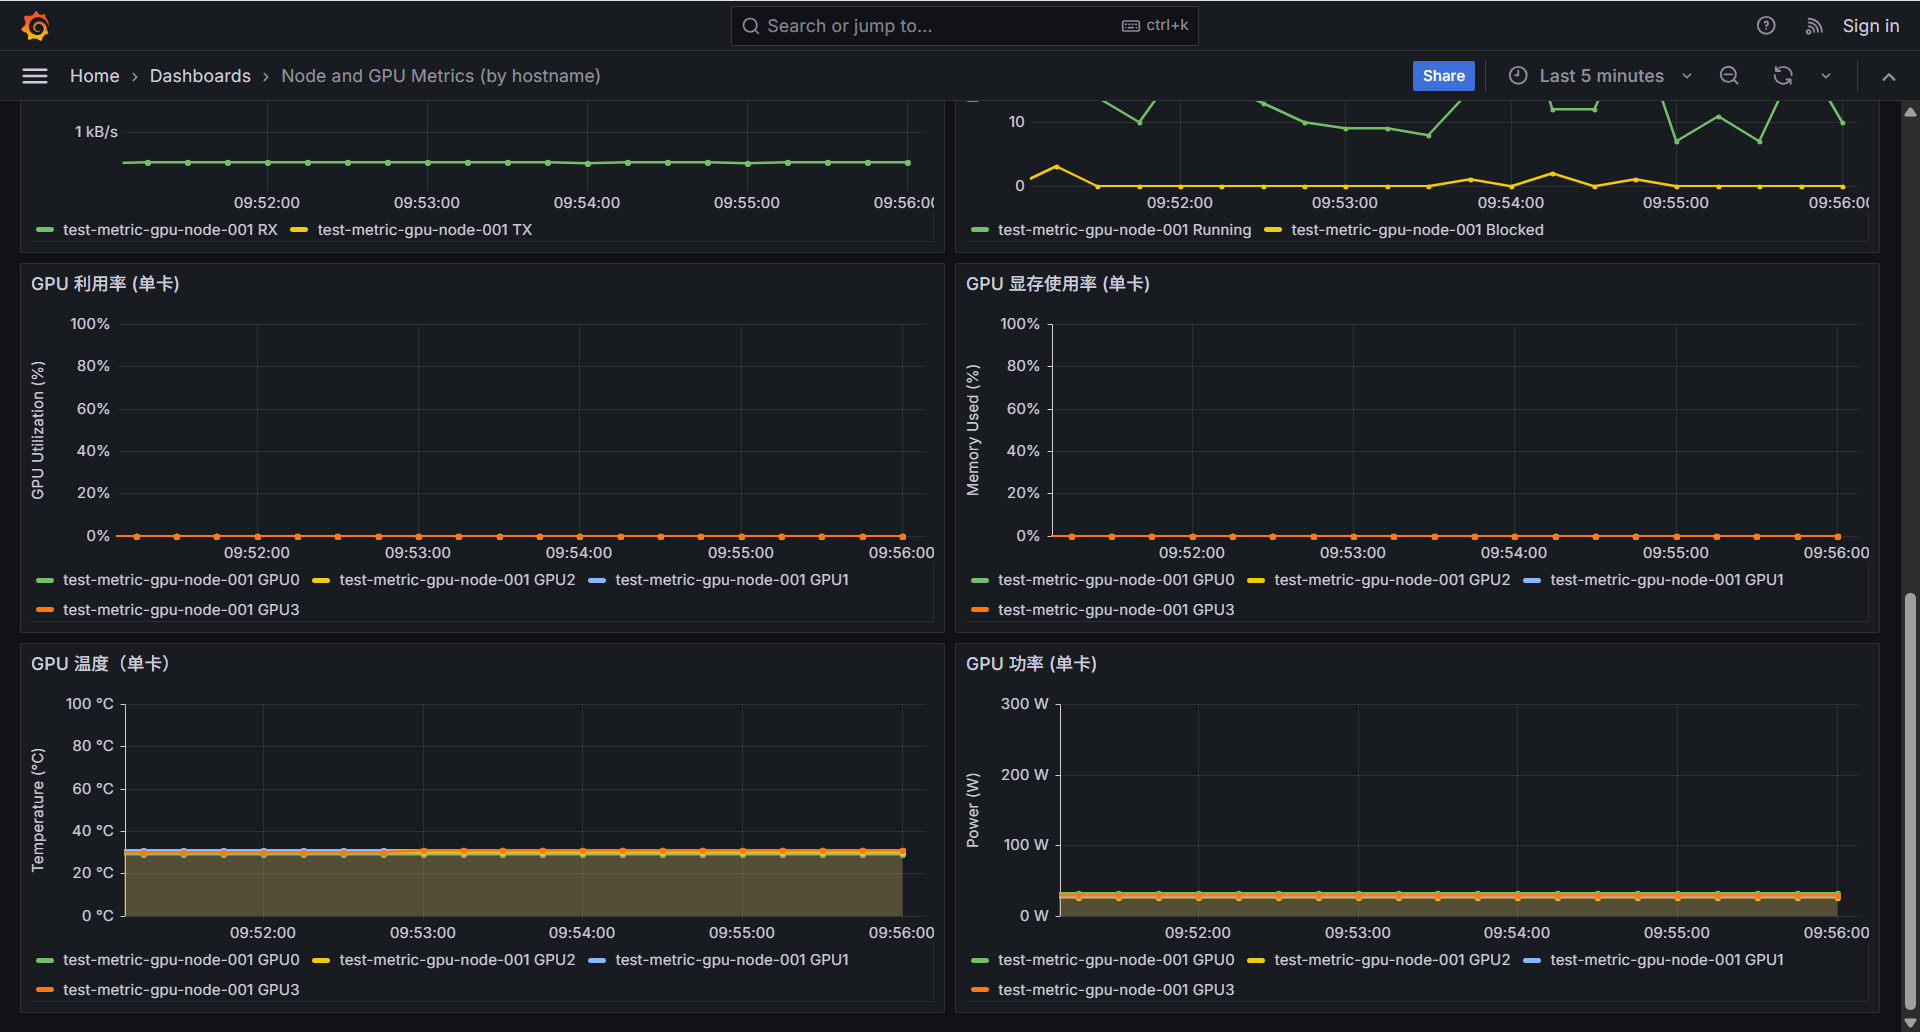 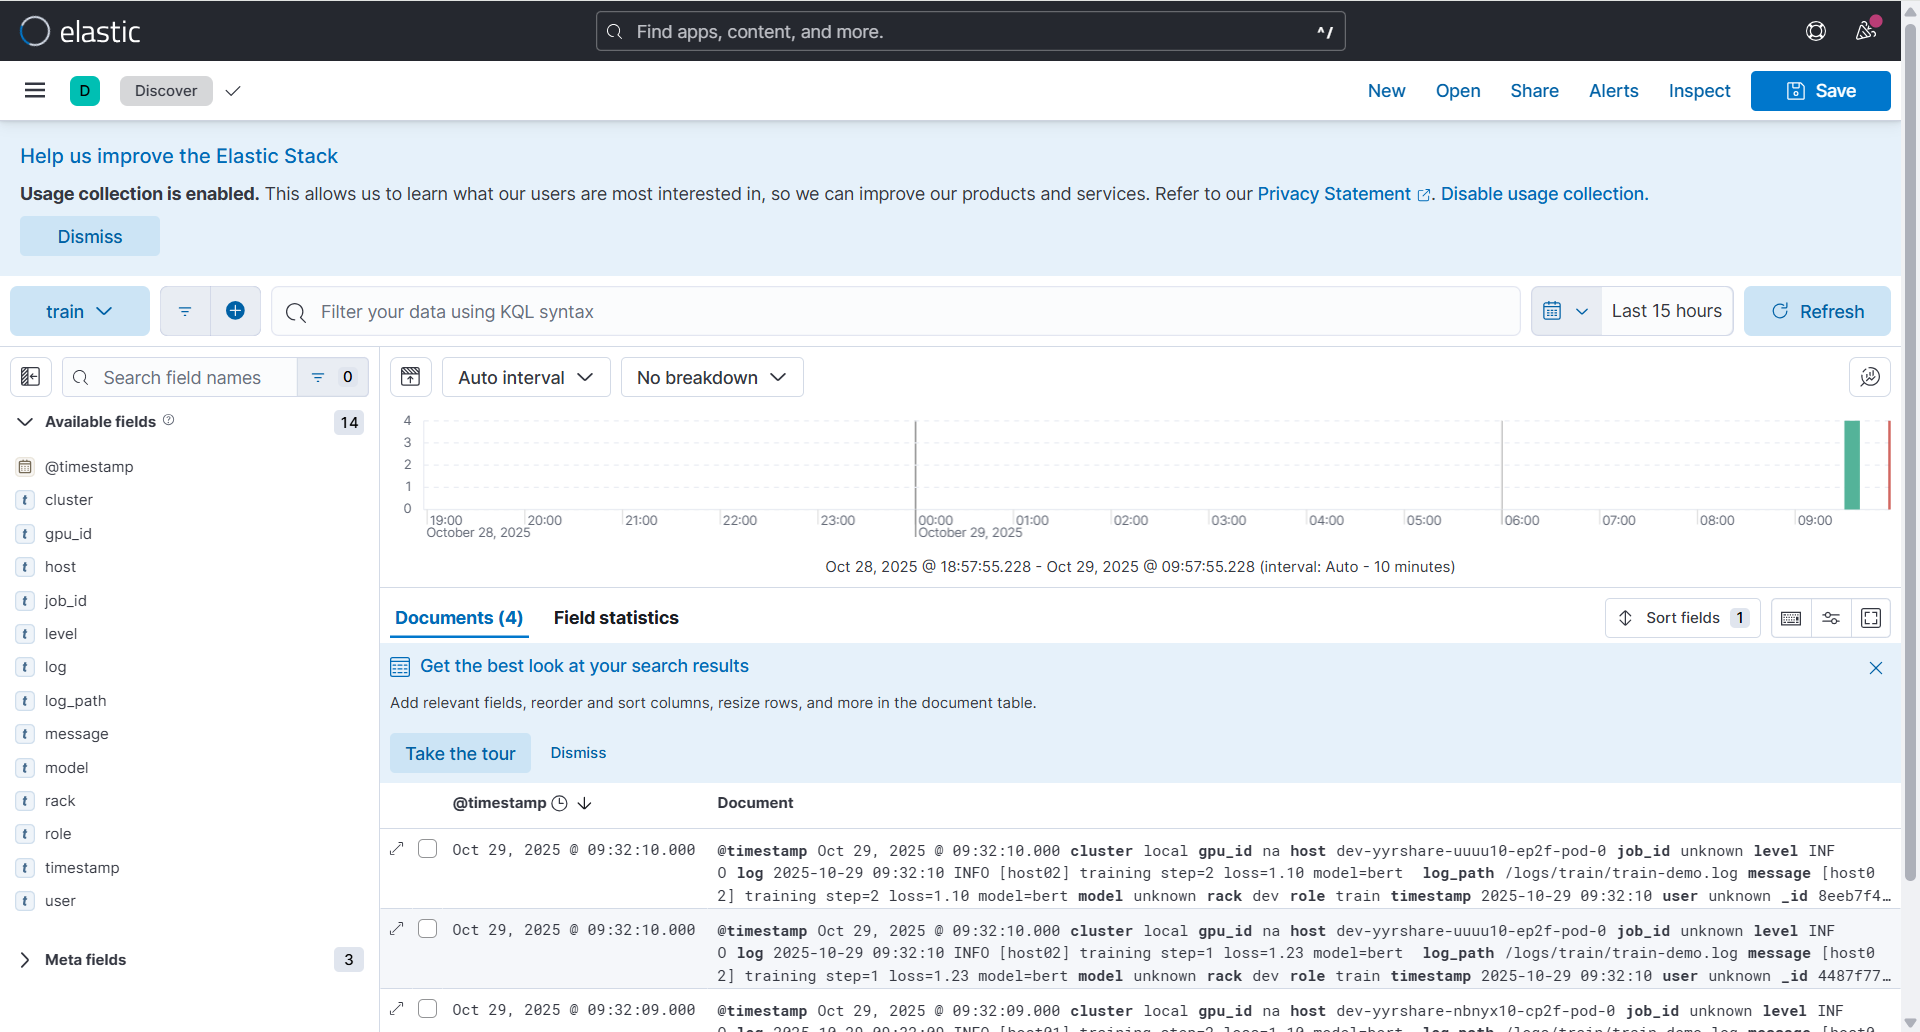 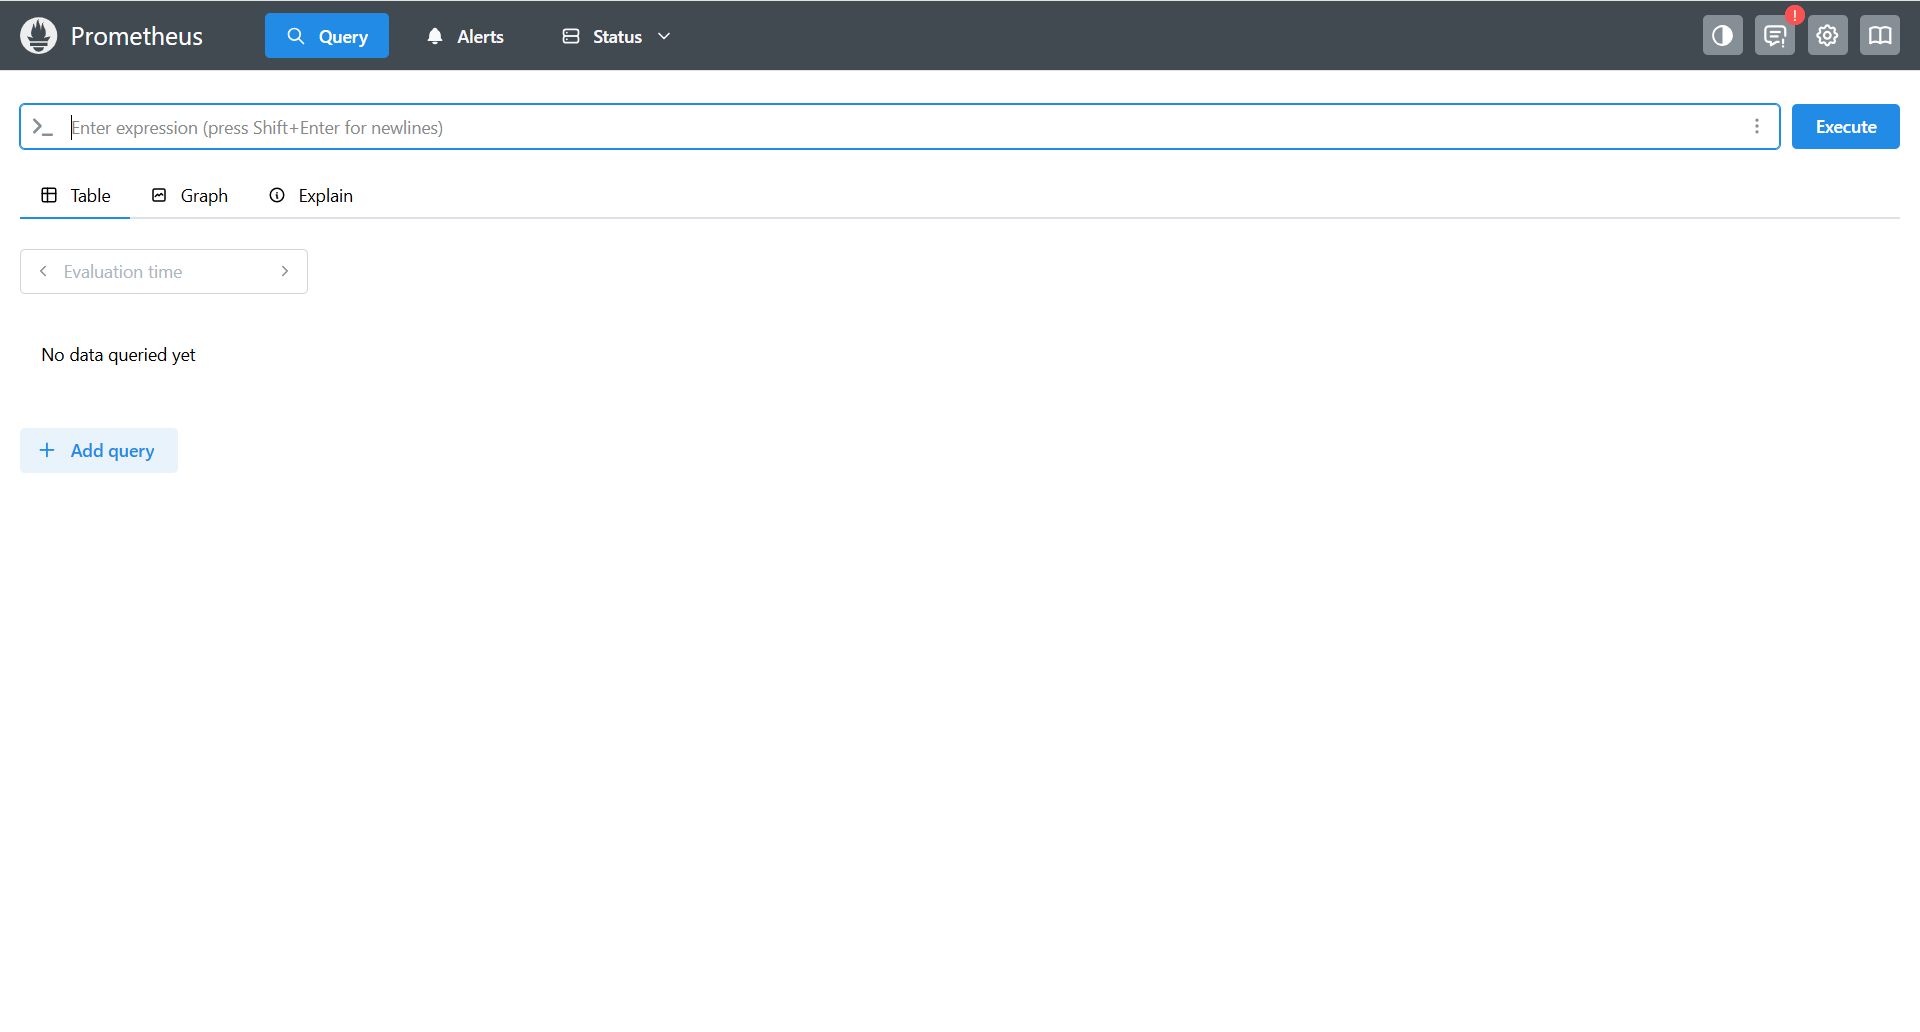 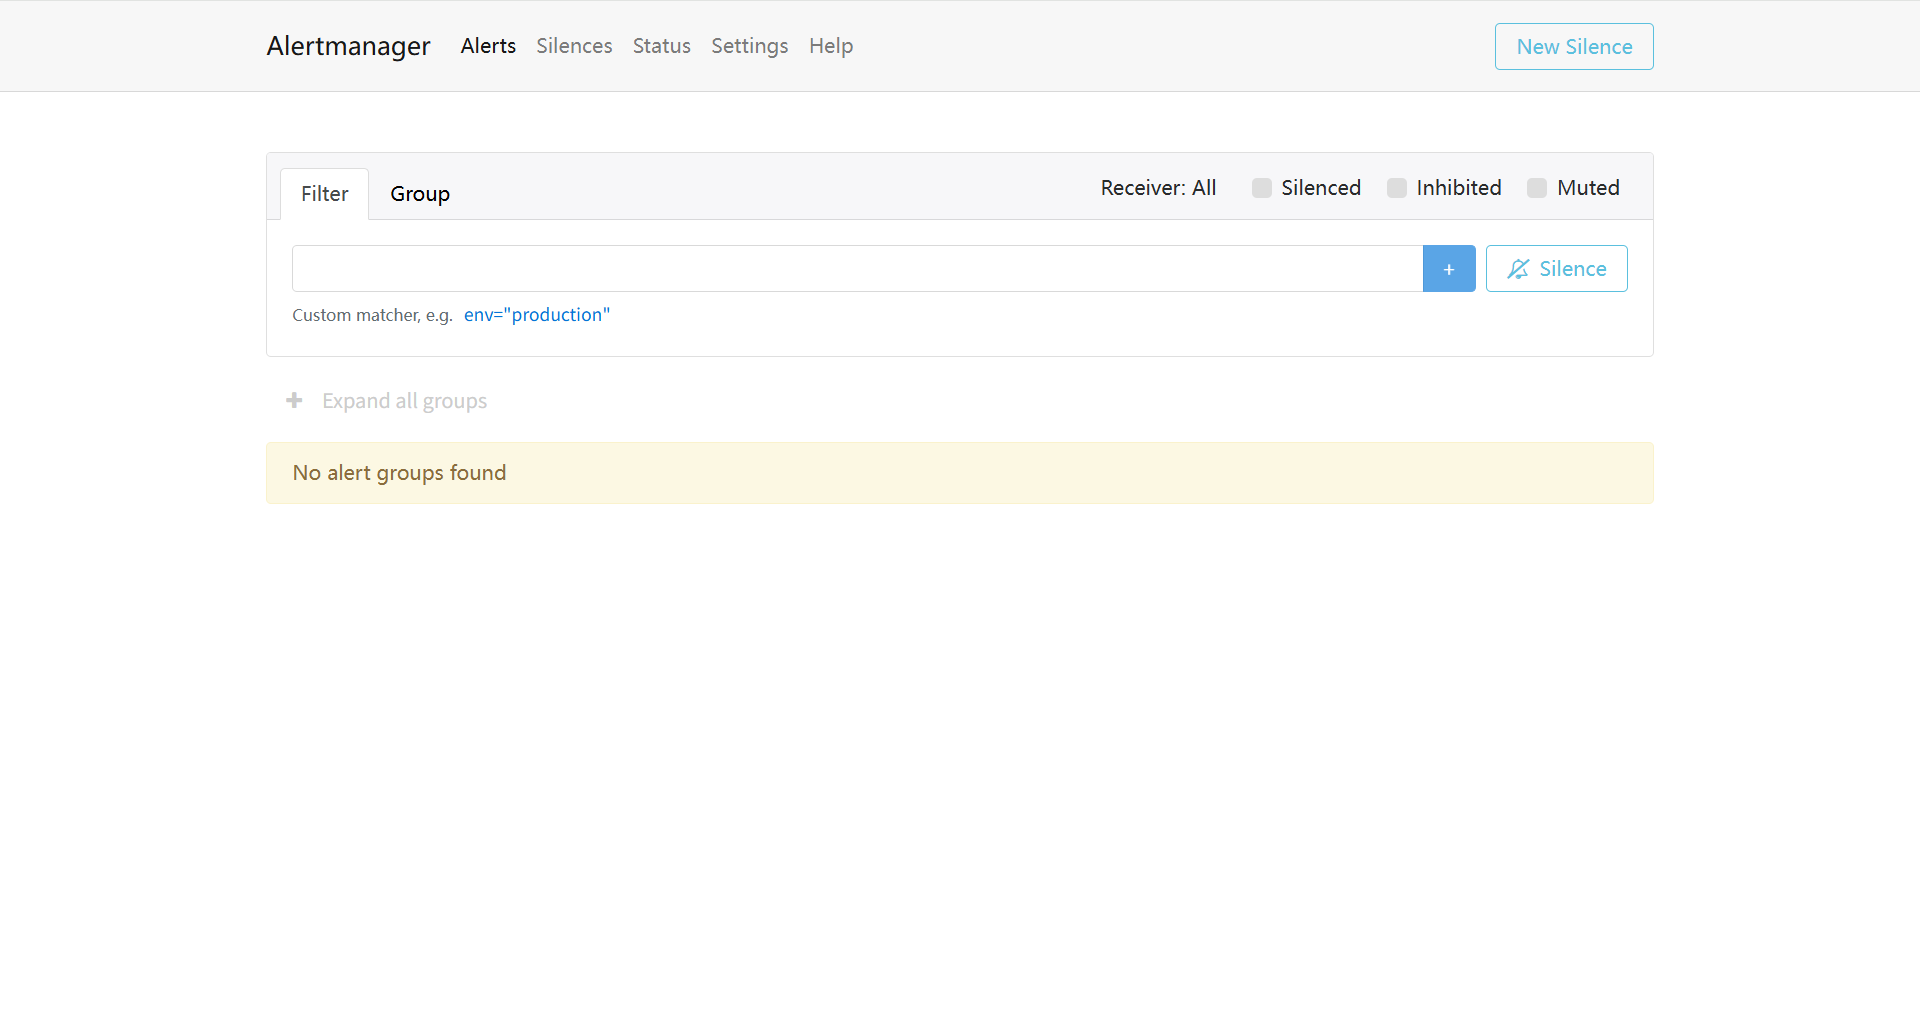 端到端测试通过: 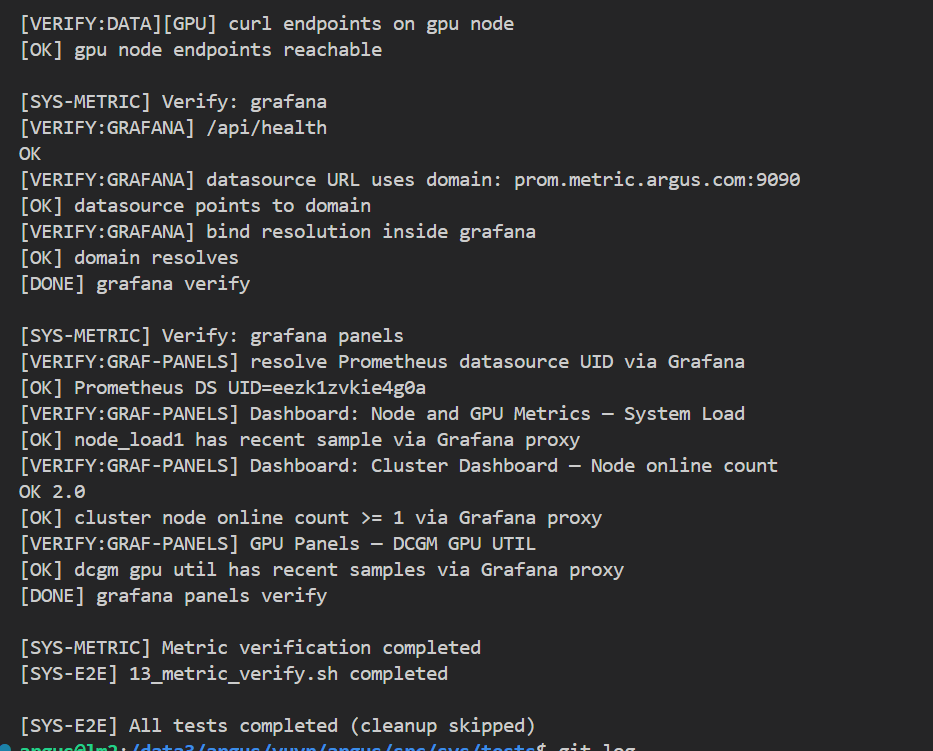 Co-authored-by: sundapeng.sdp <sundapeng@hashdata.cn> Reviewed-on: #35 Reviewed-by: xuxt <xuxt@zgclab.edu.cn> Reviewed-by: sundapeng <sundp@mail.zgclab.edu.cn> Reviewed-by: huhy <husteryezi@163.com>
59 lines
1.4 KiB
Markdown
59 lines
1.4 KiB
Markdown
# 客户侧组件安装包构建、发布流程
|
||
|
||
## 第一步:配置版本和组件
|
||
|
||
首先搞定配置文件:
|
||
|
||
1. 把 `.checklist.example` 重命名成 `checklist`
|
||
2. 把 `.VERSION.example` 重命名成 `VERSION`
|
||
|
||
### checklist 文件格式
|
||
```
|
||
# 组件名称 目录路径 版本号 [依赖组件] [安装顺序]
|
||
dcgm-exporter-installer /path/to/dcgm-exporter-installer 1.1.0
|
||
node-exporter-installer /path/to/node-exporter-installer 1.1.0
|
||
```
|
||
|
||
### VERSION 文件
|
||
设置需要发布的版本号,比如 `1.29.0`
|
||
|
||
> 建议用 `version-manager.sh` 来管理版本
|
||
|
||
## 第二步:构建安装包
|
||
|
||
直接跑脚本:
|
||
```bash
|
||
./package_artifact.sh
|
||
```
|
||
|
||
构建完的东西会放在 `artifact/` 目录下,按版本分文件夹。
|
||
|
||
如果版本已经存在了,想要覆盖重新构建:
|
||
```bash
|
||
./package_artifact.sh --force
|
||
```
|
||
|
||
构建完可以手工测试安装包。
|
||
|
||
## 第三步:发布安装包
|
||
|
||
用这个脚本发布:
|
||
```bash
|
||
./publish_artifact.sh
|
||
```
|
||
|
||
发布后的内容在 `publish/` 目录里,包含:
|
||
- 压缩版本的安装包
|
||
- 一键安装的bash脚本
|
||
|
||
## 第四步:部署到FTP服务器
|
||
|
||
把发布的内容上传到FTP服务器,客户端就可以通过一键命令安装:
|
||
|
||
```bash
|
||
curl -fsSL http://your-ftp-server/install.sh | sh -
|
||
|
||
curl -fsSL "ftp://ftpuser:{PASSWD}!@10.211.55.4/share/setup.sh" | sudo bash -s -- --server 10.211.55.4 --user ftpuser --password {PASSWD}
|
||
```
|
||
|
||
这样客户就能直接从FTP服务器下载并安装组件了。 |