测试方案: - lm2机器端口映射到本机:18080, 18081, 8082-8085 - 访问URL: http://localhost:18080/dashboard 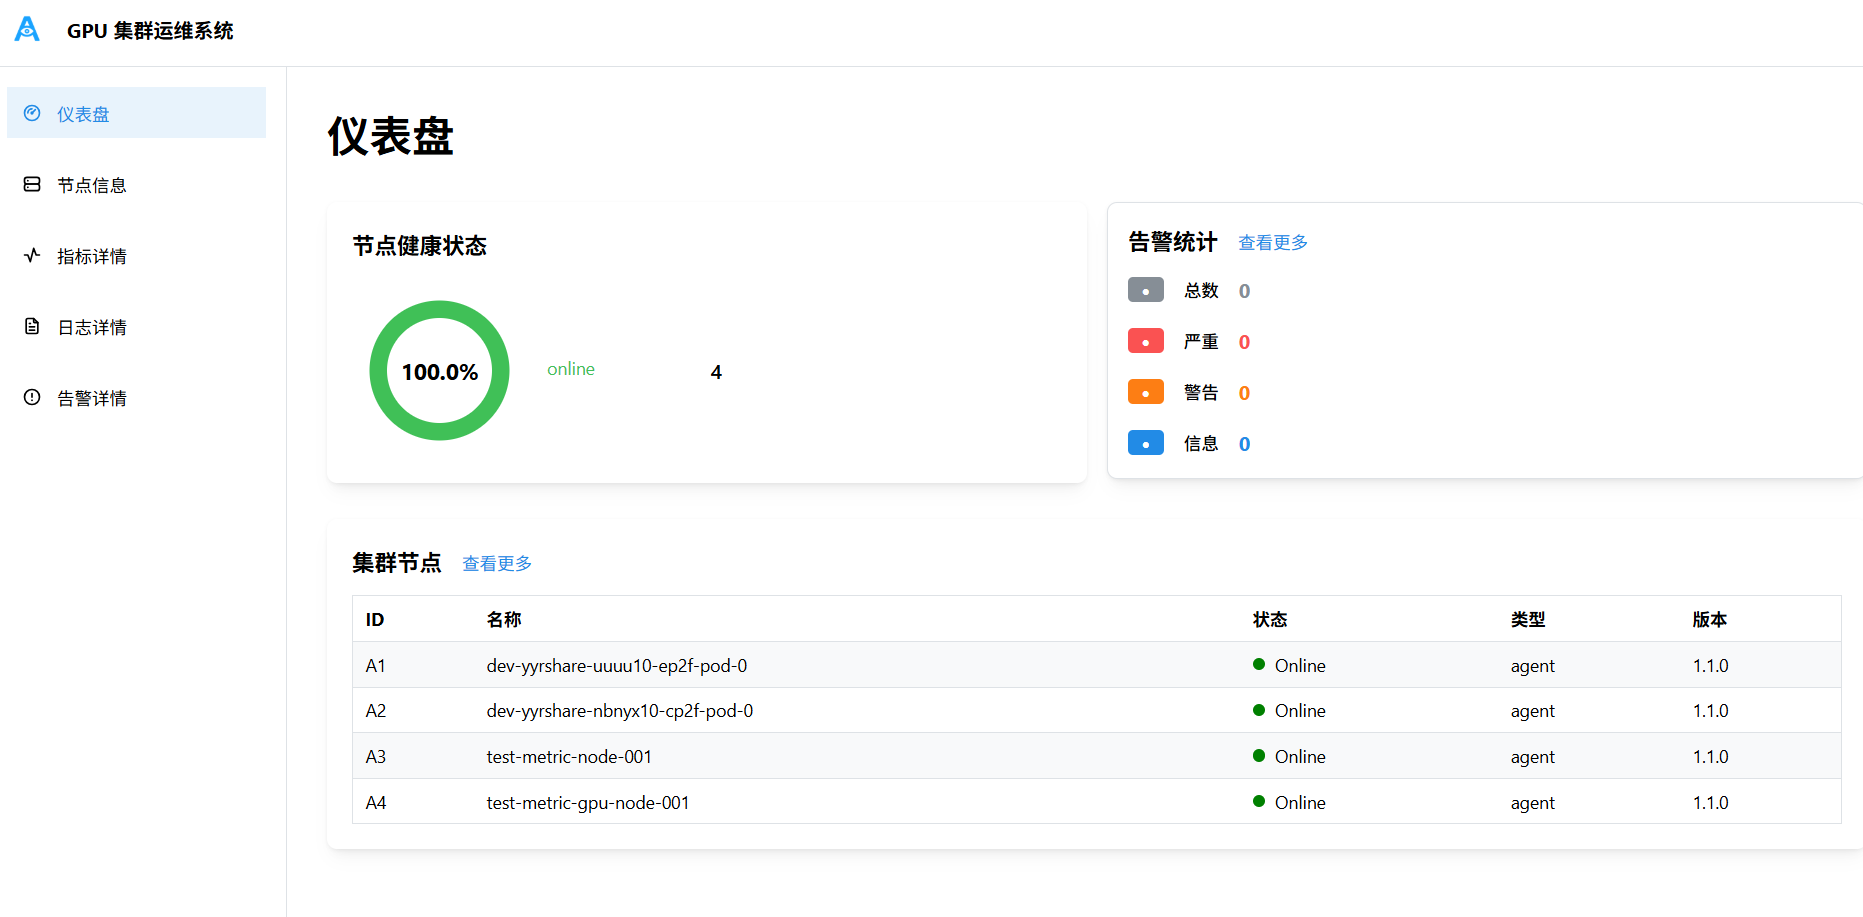 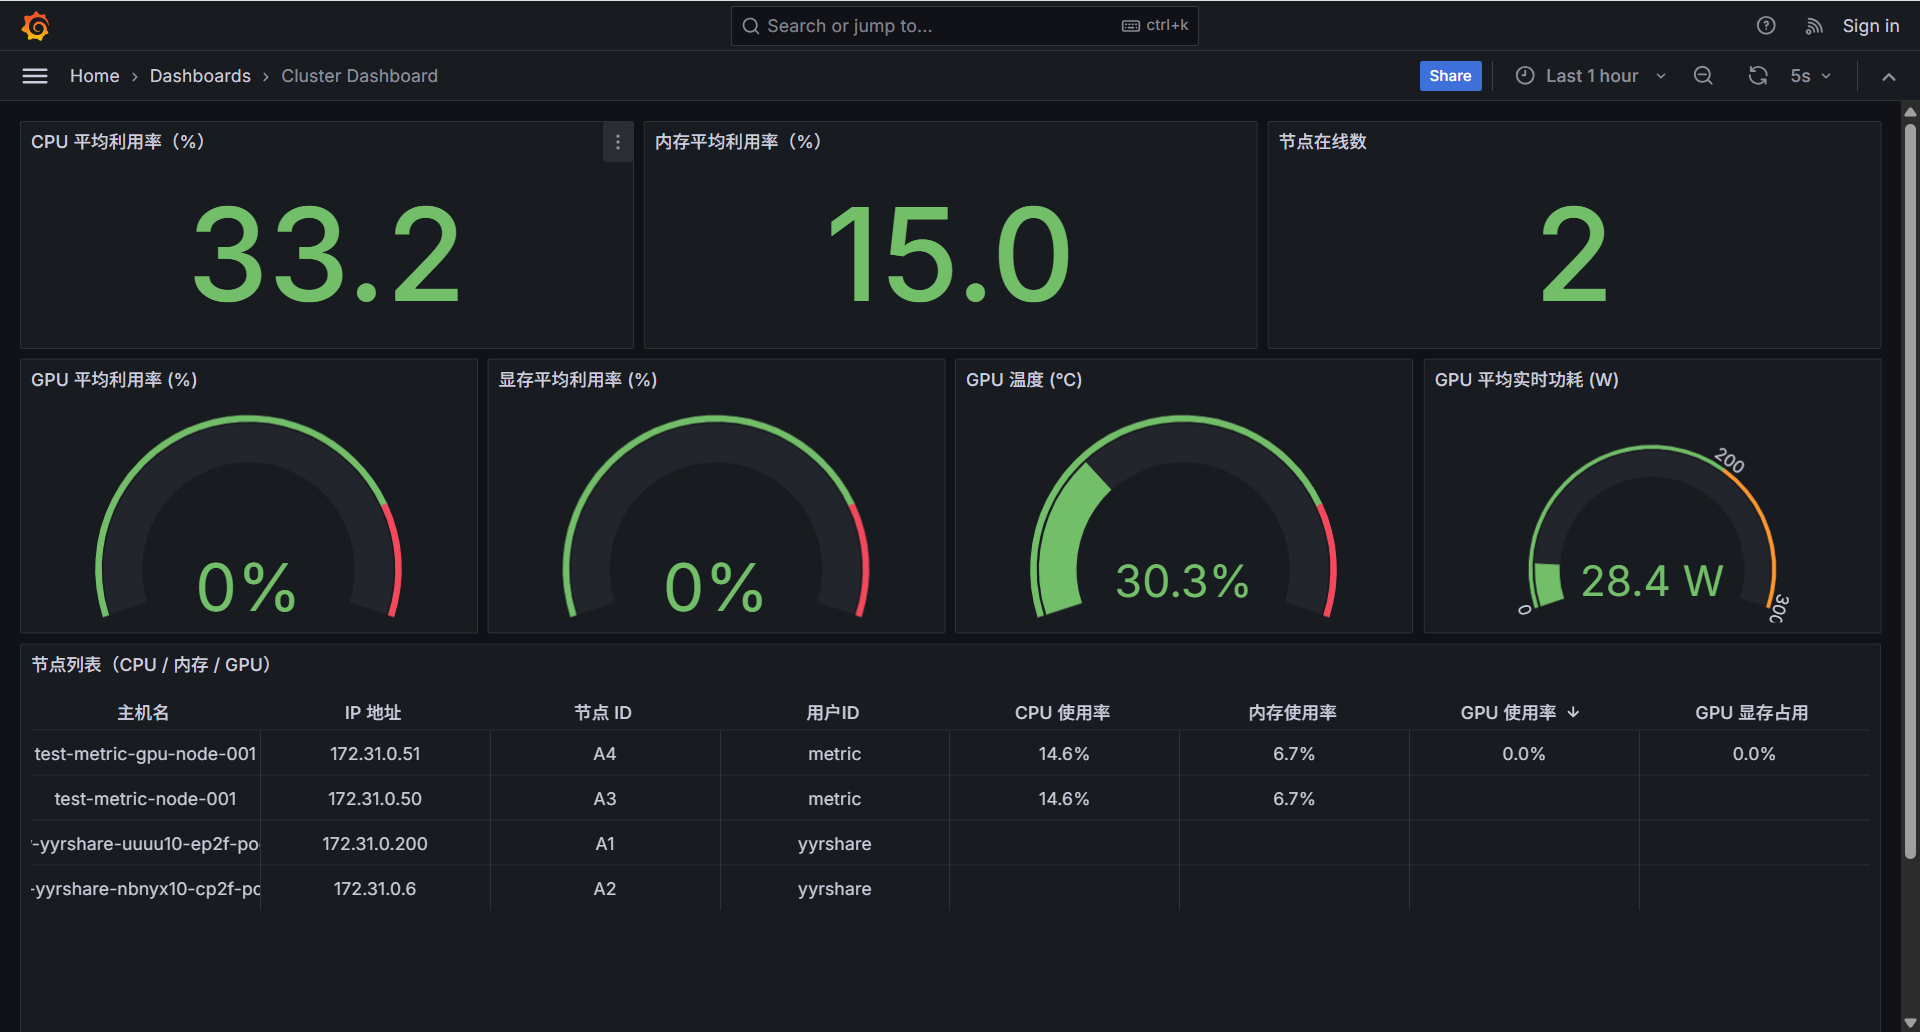 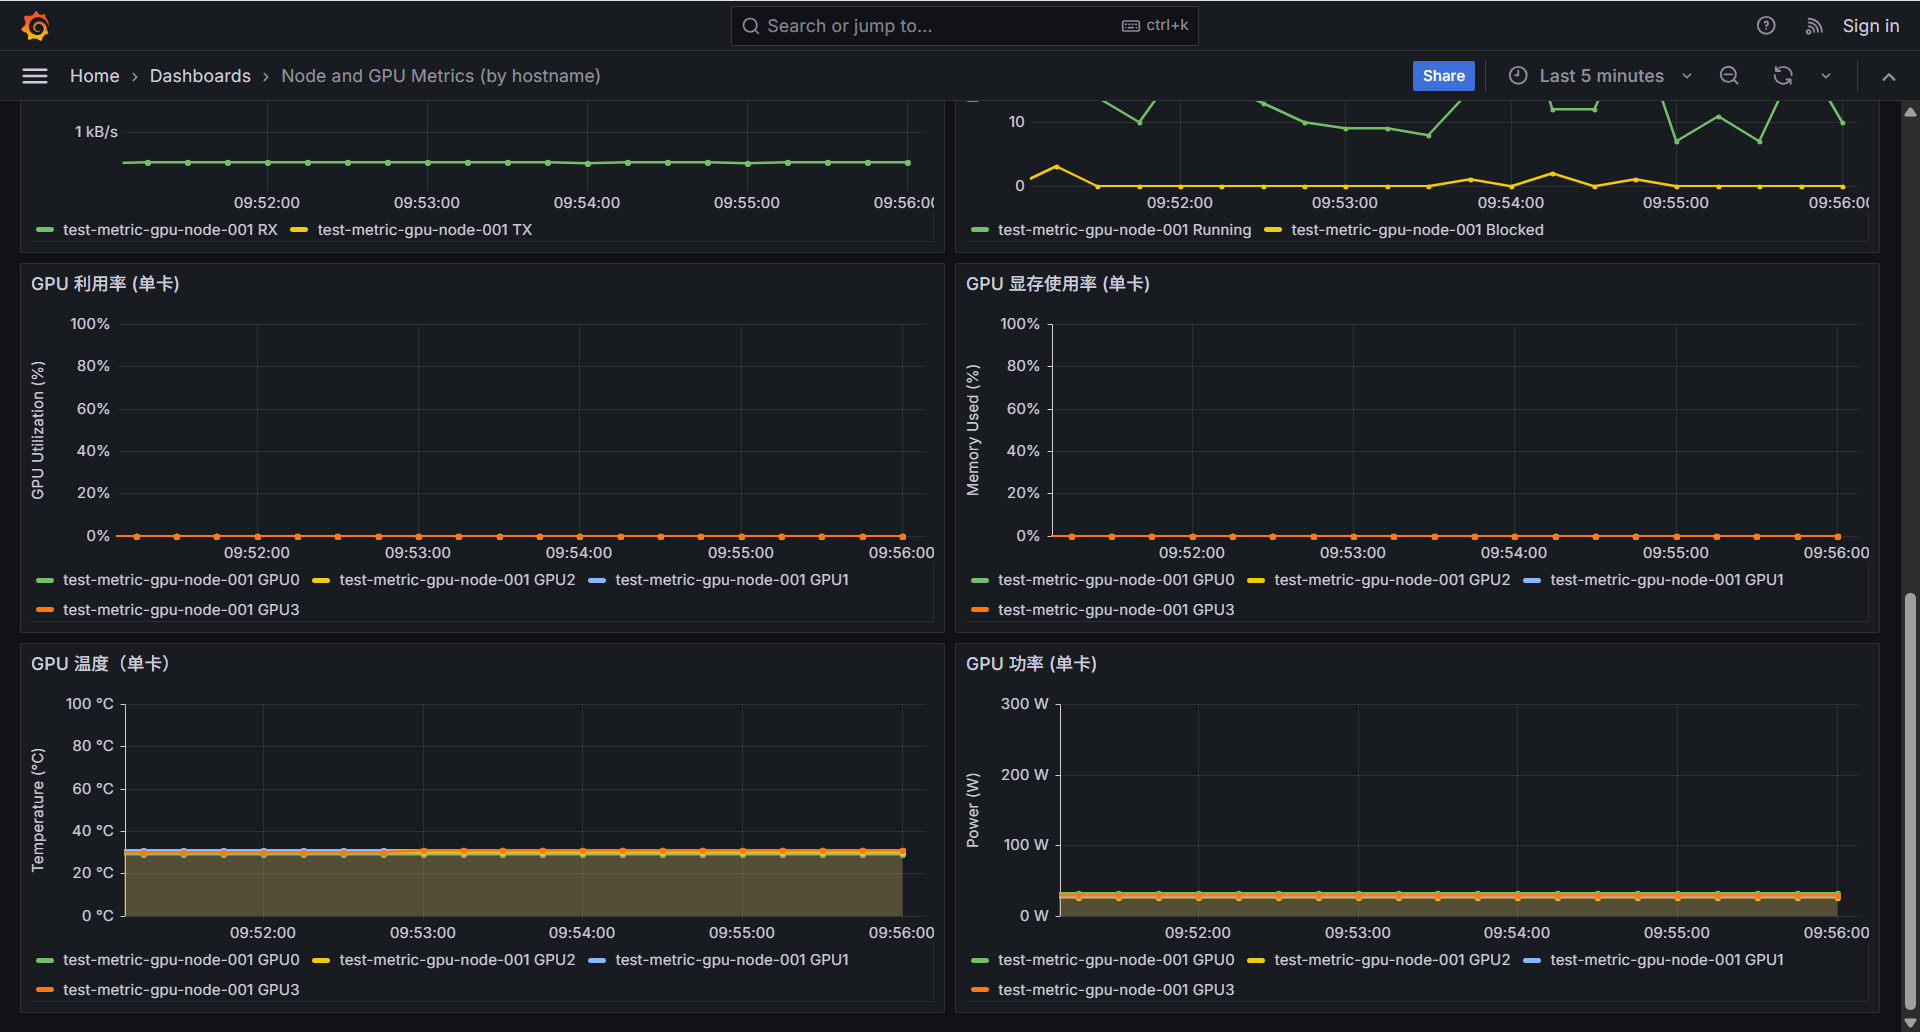 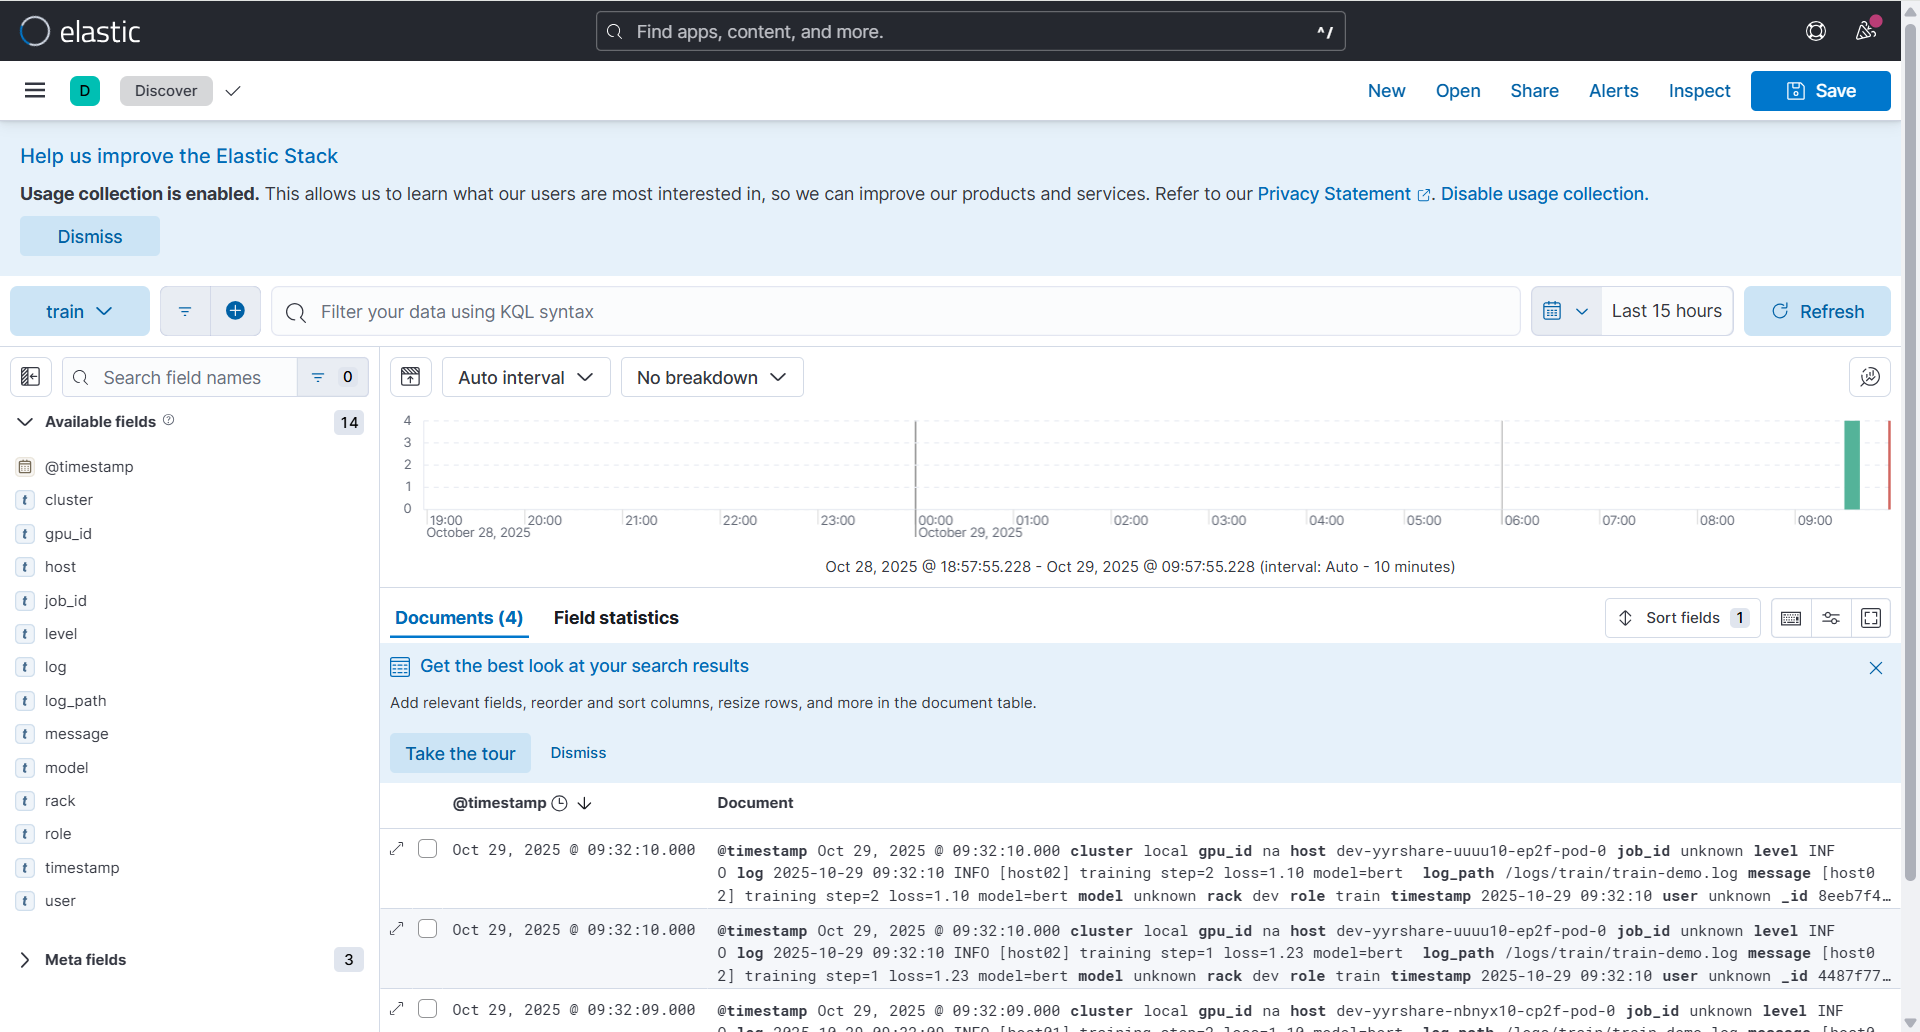   端到端测试通过: 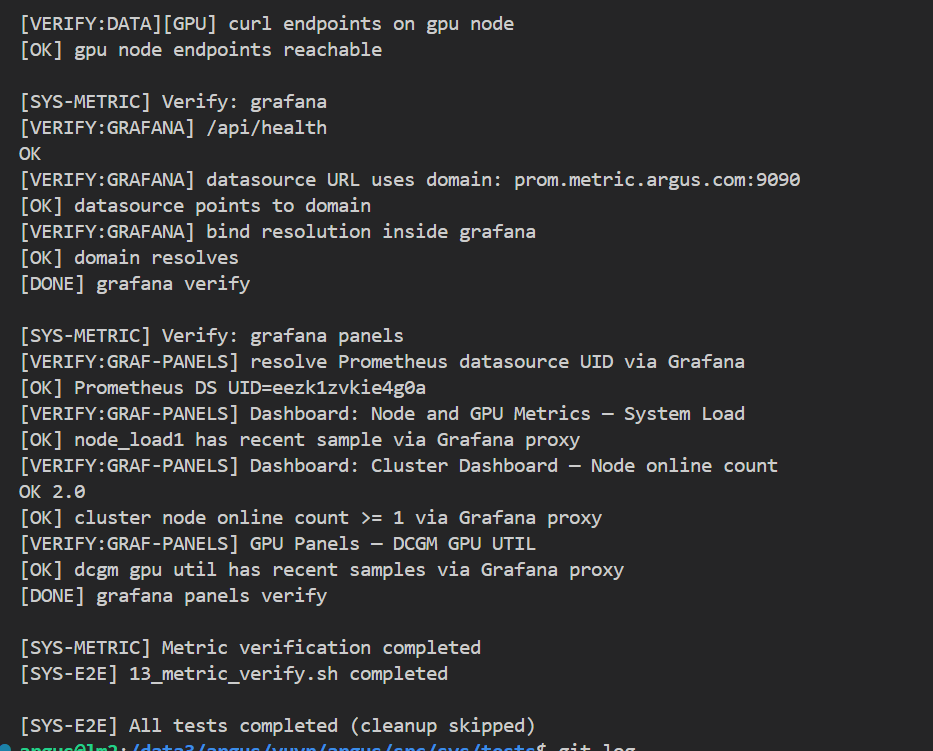 Co-authored-by: sundapeng.sdp <sundapeng@hashdata.cn> Reviewed-on: #35 Reviewed-by: xuxt <xuxt@zgclab.edu.cn> Reviewed-by: sundapeng <sundp@mail.zgclab.edu.cn> Reviewed-by: huhy <husteryezi@163.com>
95 lines
2.0 KiB
Markdown
95 lines
2.0 KiB
Markdown
# Argus Agent 插件
|
|
|
|
这是 Argus Agent 的安装和管理插件,提供了完整的安装、卸载、健康检查功能。
|
|
|
|
## 文件结构
|
|
|
|
```
|
|
argus-agent/
|
|
├── bin/
|
|
│ └── argus-agent # Argus Agent 二进制文件
|
|
├── config/ # 配置文件目录
|
|
├── install.sh # 安装脚本
|
|
├── uninstall.sh # 卸载脚本
|
|
├── check_health.sh # 健康检查脚本
|
|
├── package.sh # 打包脚本
|
|
└── README.md # 说明文档
|
|
```
|
|
|
|
## 使用方法
|
|
|
|
### 安装
|
|
|
|
```bash
|
|
sudo ./install.sh
|
|
```
|
|
|
|
安装脚本会:
|
|
- 检查系统要求
|
|
- 停止可能运行的服务
|
|
- 安装二进制文件到 `/usr/local/bin/argus-agent`
|
|
- 创建 `argus-agent` 用户
|
|
- 创建配置和数据目录
|
|
- 启动服务并记录 PID
|
|
|
|
### 卸载
|
|
|
|
```bash
|
|
sudo ./uninstall.sh
|
|
```
|
|
|
|
卸载脚本会:
|
|
- 停止所有 argus-agent 进程
|
|
- 删除二进制文件
|
|
- 删除配置和数据目录
|
|
- 清理日志文件
|
|
- 更新安装记录
|
|
|
|
### 健康检查
|
|
|
|
```bash
|
|
./check_health.sh
|
|
```
|
|
|
|
健康检查脚本会:
|
|
- 检查安装记录中的 PID
|
|
- 验证进程是否正在运行
|
|
- 输出 JSON 格式的健康状态
|
|
|
|
### 打包
|
|
|
|
```bash
|
|
./package.sh
|
|
```
|
|
|
|
打包脚本会:
|
|
- 检查所有必要文件
|
|
- 创建时间戳命名的压缩包
|
|
- 输出安装包信息
|
|
|
|
## 安装后的文件位置
|
|
|
|
- 二进制文件: `/usr/local/bin/argus-agent`
|
|
- 配置目录: `/etc/argus-agent/`
|
|
- 数据目录: `/var/lib/argus-agent/`
|
|
- 日志文件: `/var/log/argus-agent.log`
|
|
- PID 文件: `/var/run/argus-agent.pid`
|
|
- 安装记录: `/opt/argus-metric/current/.install_record`
|
|
|
|
## 健康检查输出格式
|
|
|
|
```json
|
|
{
|
|
"name": "argus-agent",
|
|
"status": "health|unhealth",
|
|
"reason": "状态说明"
|
|
}
|
|
```
|
|
|
|
## 注意事项
|
|
|
|
1. 安装和卸载脚本需要 root 权限
|
|
2. 健康检查脚本使用安装记录中的 PID 来验证进程状态
|
|
3. 如果 jq 命令不可用,健康检查会使用简单的文本解析
|
|
4. 卸载时会保留 `argus-agent` 用户,避免影响其他服务
|